Kotlin BLE Demo:通过 OP-BT / OP-BTS 蓝牙光电头发送命令并显示响应
本页面根据 Kotlin BLE Demo-251218.txt 示例整理,演示如何使用 Kotlin + Android BLE GATT 与 OP-BT / OP-BTS 设备通信,发送命令 BaudTran,9600,N,8,1,并在界面上显示设备返回结果(例如:OK,VER=01.00)。
1. 环境准备
- 开发工具:Android Studio(建议搭配 JDK 11 / Java 11)
- 新建项目参数:
- 项目名称:
OPManagerDemo - 模板:Empty Activity
- 语言:Kotlin
- 最低 SDK:建议 Android 8.0(API 26) 及以上,方便做 BLE 演示
- 项目名称:
源代码
本示例的完整源代码可在 GitHub 上获取:
您可以直接克隆仓库并在 Android Studio 中打开:
git clone https://github.com/zenovate-team/OPManagerDemo-kotlin.git
cd OPManagerDemo-kotlin
2. Demo 功能说明
2.1 主要功能
- 扫描附近的 BLE 蓝牙设备
- 列表展示设备名称和 MAC 地址
- 选择目标设备并建立 BLE GATT 连接
- 发送命令:
BaudTran,9600,N,8,1 - 通过通知特征接收设备返回,例如:
OK,VER=01.00 - 在界面上以日志方式显示连接状态 / 发送命令 / 接收数据
2.2 使用到的 API / 库
- 蓝牙通信(BLE GATT):
BluetoothLeScannerBluetoothGatt/BluetoothGattCallbackBluetoothGattCharacteristic/BluetoothGattDescriptor
- 运行时权限:
- AndroidX Activity Result API:
ActivityResultContracts.RequestMultiplePermissions
- AndroidX Activity Result API:
2.3 通信协议与 UUID
-
文本命令:
- 发送:
BaudTran,9600,N,8,1 - 典型响应:
OK,VER=01.00
- 发送:
-
GATT UUID 配置(支持 16-bit / 32-bit / 128-bit 写法):
- Service UUID:
18F0 - Notification Characteristic UUID:
2AF0 - Write Characteristic UUID:
2AF1
- Service UUID:
3. 界面截图
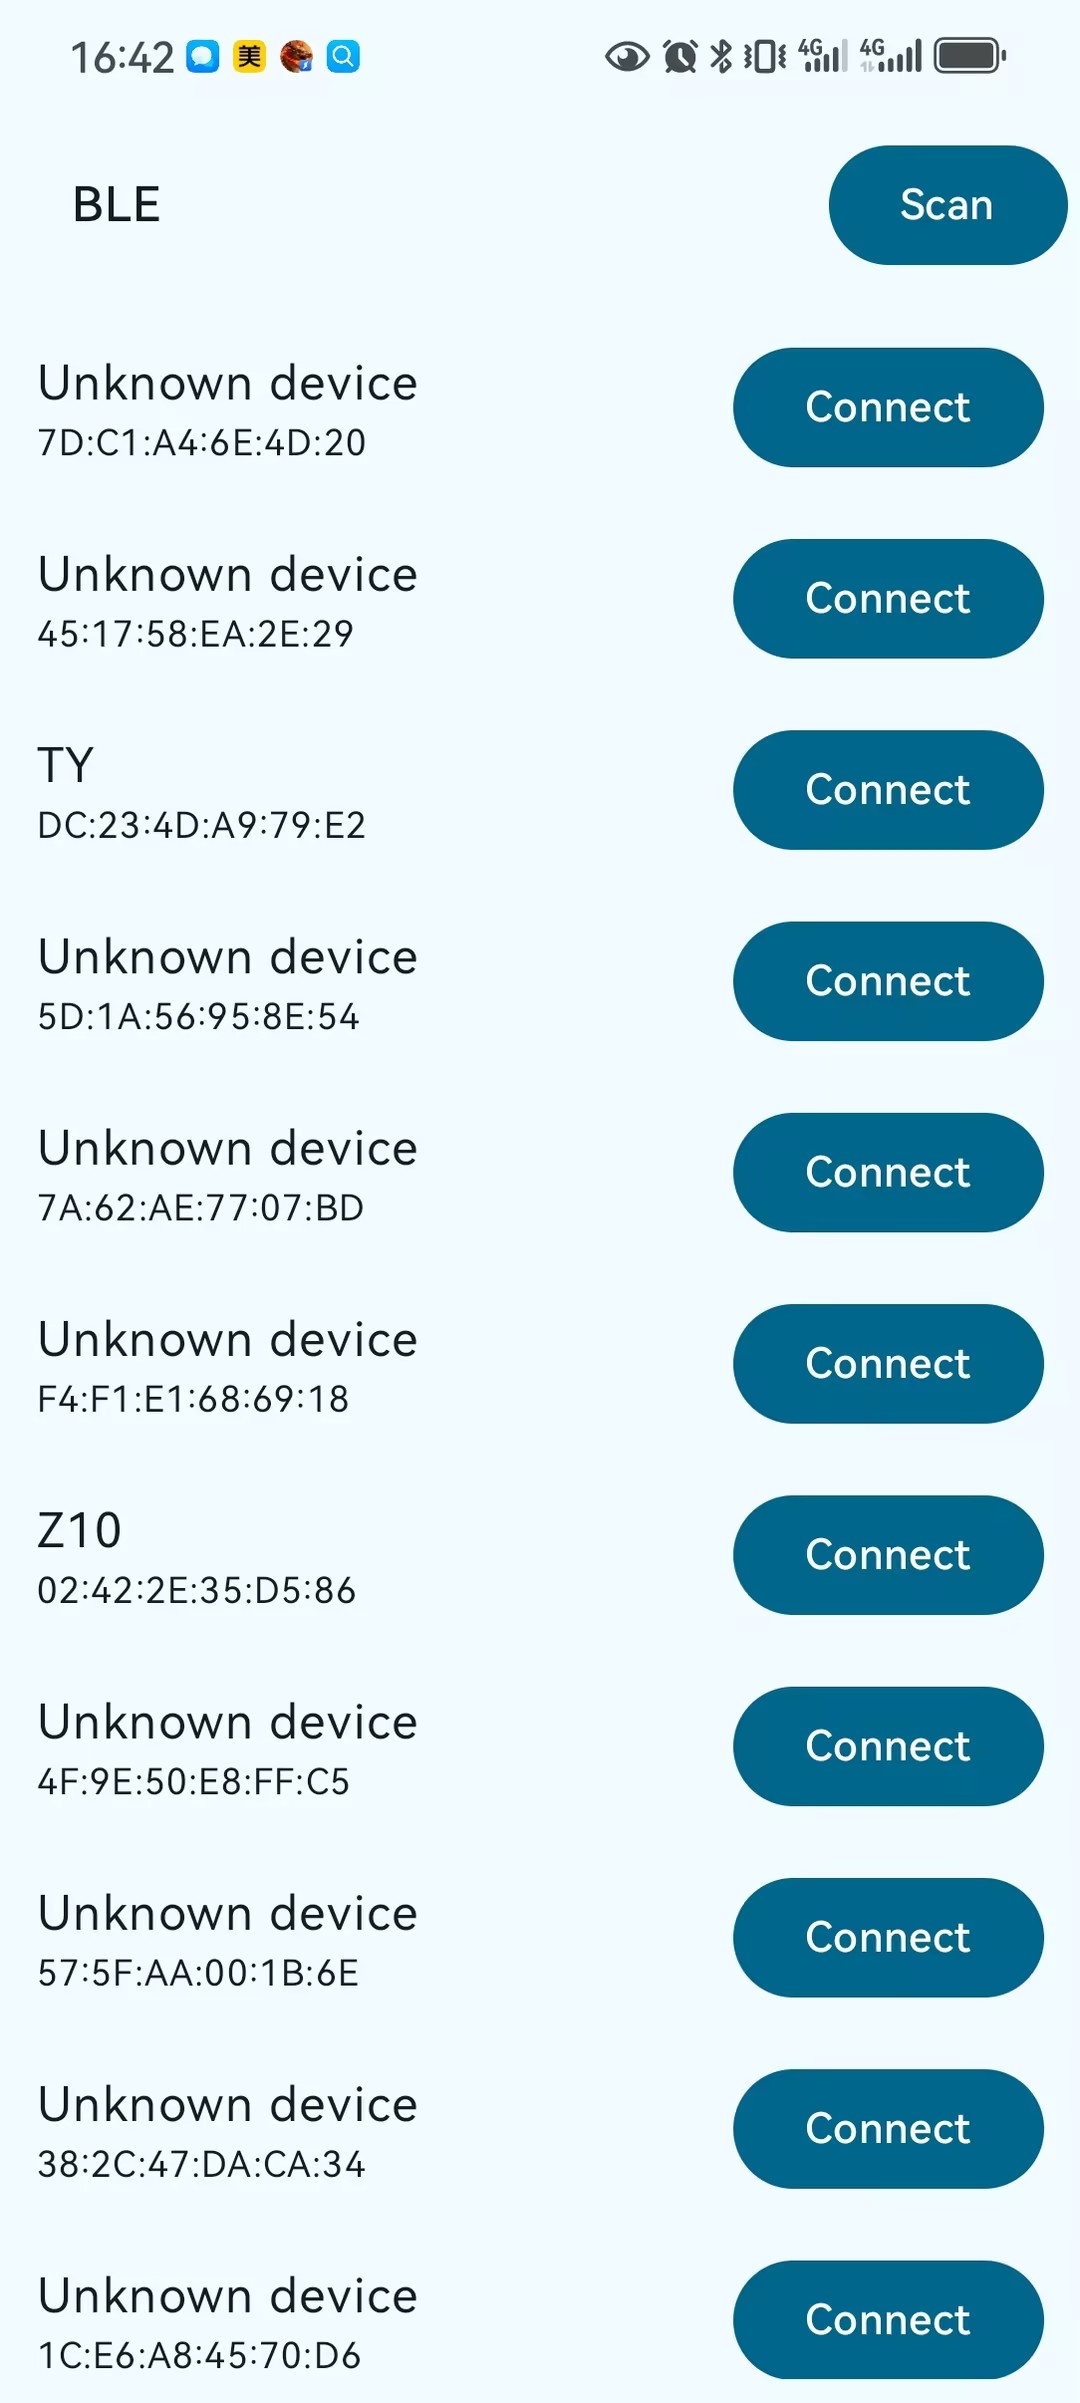
设备扫描列表界面示意图

命令发送与响应日志界面示意图
4. 修改 Android 权限(AndroidManifest.xml)
编辑:app/src/main/AndroidManifest.xml,参考配置如下:
<?xml version="1.0" encoding="utf-8"?>
<manifest xmlns:android="http://schemas.android.com/apk/res/android"
    xmlns:tools="http://schemas.android.com/tools">

    <!-- 蓝牙权限(兼容 Android 12 前后) -->
    <!-- Android 11 及以下使用的传统蓝牙 / 位置权限 -->
    <uses-permission
        android:name="android.permission.BLUETOOTH"
        android:maxSdkVersion="30" />
    <uses-permission
        android:name="android.permission.BLUETOOTH_ADMIN"
        android:maxSdkVersion="30" />
    <uses-permission
        android:name="android.permission.ACCESS_COARSE_LOCATION"
        android:maxSdkVersion="30" />
    <uses-permission
        android:name="android.permission.ACCESS_FINE_LOCATION"
        android:maxSdkVersion="30" />

    <!-- Android 12+ 新增蓝牙运行时权限 -->
    <uses-permission
        android:name="android.permission.BLUETOOTH_SCAN"
        android:usesPermissionFlags="neverForLocation" />
    <uses-permission android:name="android.permission.BLUETOOTH_CONNECT" />
    <uses-permission android:name="android.permission.BLUETOOTH_ADVERTISE" />

    <!-- 蓝牙 / BLE 硬件特性(可选,推荐设为 false,方便非 BLE 设备安装) -->
    <uses-feature
        android:name="android.hardware.bluetooth"
        android:required="false" />
    <uses-feature
        android:name="android.hardware.bluetooth_le"
        android:required="false" />

    <application
        android:allowBackup="true"
        android:dataExtractionRules="@xml/data_extraction_rules"
        android:fullBackupContent="@xml/backup_rules"
        android:icon="@mipmap/ic_launcher"
        android:label="@string/app_name"
        android:roundIcon="@mipmap/ic_launcher_round"
        android:supportsRtl="true"
        android:theme="@style/Theme.OPManagerDemo">
        <activity
            android:name=".MainActivity"
            android:exported="true"
            android:label="@string/app_name"
            android:theme="@style/Theme.OPManagerDemo">
            <intent-filter>
                <action android:name="android.intent.action.MAIN" />
                <category android:name="android.intent.category.LAUNCHER" />
            </intent-filter>
        </activity>
    </application>

</manifest>
运行时权限申请逻辑在 Kotlin 代码中通过 ActivityResultContracts.RequestMultiplePermissions 实现(见下节)。
5. 关键 Kotlin 代码片段
完整源码请参考同目录下的 Kotlin BLE Demo-251218.txt。下面仅摘录与发送命令和接收响应相关的关键逻辑,便于快速查看:
object BleConfig {
    const val SERVICE_UUID_STR = "18f0"
    const val WRITE_CHAR_UUID_STR = "2af1"
    const val NOTIFY_CHAR_UUID_STR = "2af0"
    // 省略 UUID 转换代码...
}

class BleConnectionManager(private val context: Context) {
    // 省略成员变量与构造...

    fun connect(
        address: String,
        onStateChange: (ConnectionState) -> Unit,
        onLog: (ConnectionLog) -> Unit
    ) {
        // 通过 MAC 地址建立 GATT 连接、发现服务并找到写特征与通知特征
        // 详细实现见 Kotlin BLE Demo-251218.txt
    }

    fun send(
        text: String,
        onLog: (ConnectionLog) -> Unit
    ) {
        // 将命令按 ASCII+CRLF 写入写特征
        val payload = text + "\r\n"
        // gatt.writeCharacteristic(writeCharacteristic)
        onLog(ConnectionLog(LogType.SEND, "Sending: $text"))
    }
}

@Composable
private fun ConnectionDetailScreen(
    device: BluetoothDeviceUi?,
    connectionState: ConnectionState,
    logs: List<ConnectionLog>,
    onBack: () -> Unit,
    onReconnect: () -> Unit,
    onSendCommand: (String) -> Unit
) {
    // 默认命令为 BaudTran,9600,N,8,1
    var commandText by remember { mutableStateOf("BaudTran,9600,N,8,1") }
    // 省略 UI 代码...
}
6. 运行步骤
- 用 USB 数据线连接手机与电脑,在手机端允许 USB 调试权限
- 在 Android Studio 中点击 Run ▶ 并选择你的手机设备
- App 启动后:
- 首次会弹出蓝牙 / 位置权限请求,全部允许
- 在设备列表页点击右上角 Scan 开始扫描
- 在列表中点击目标 OP-BT / OP-BTS 设备进行连接
- 在“连接详情”界面中:
- 默认命令为
BaudTran,9600,N,8,1,可直接点击 Send - 下方日志区域会显示发送记录和设备返回,例如
OK,VER=01.00
- 默认命令为